If you are a new parent, I surely would have caught your attention when I said that it can amuse your baby for hours. Wouldn’t it be great if there was really a non-digital magical device that can hold your baby’s attention that long? The mobiles that we have tried entertained our little Tala for an average of 10-15 minutes, sometimes, up to 20 minutes. We know that these precious minutes can feel like an hour to new parents as we can cram a lot of things like taking a shower, go to the bathroom, eat a quick meal, etc.
Up until a few months ago, the term “mobile”, to me, would refer to either a phone, tablet, laptop, being on the move or something that can be transported from one place to the other easily. Never have I thought that it would also be a tool to entertain and educate newborn babies and help in boosting brain development.
There you have it, a time machine for parents plus brain booster for baby.
A mobile is a type of kinetic sculpture constructed to take advantage of the principle of equilibrium. It consists of a number of rods, from which weighted objects or further rods hang. The objects hanging from the rods balance each other, so that the rods remain more or less horizontal. Each rod hangs from only one string, which gives it freedom to rotate about the string. An ensemble of these balanced parts hang freely in space, by design without coming into contact with each other.
Apart from being attractive to look at from an adult’s perspective, the hanging mobiles provide babies with something to interact with. To sum up the things that I’ve read from other articles online, the infant mobiles help develop concentration, hand-eye coordination and depth perception. This visual stimulation helps encourage movement of the eyes, hands, legs and head, thus strengthening the muscles and aids in coordination by following the movement of the mobile.
When you go online and search for baby mobiles, the results might overwhelm, and at the same time, excite you. In fact, there are so many different variations of infant mobiles (each with their own pros and cons) that you wouldn’t know where to begin. Some are amazingly well-designed but are very expensive. Some, you need to order from another country and it might take several weeks or even months to get to you. The baby might no longer be interested by the time the mobile arrives at your doorstep.
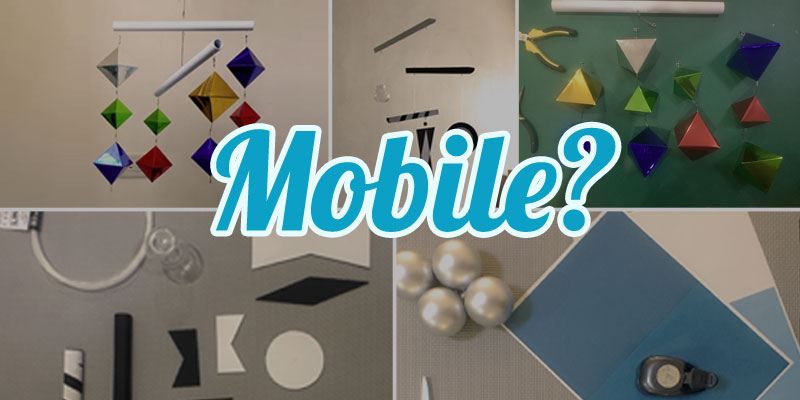
Luckily, my wife has also been researching and suggested that we look into the Montessori style infant mobiles. Apart from being easy to DIY, the different types of infant mobiles for different stages of development actually make a lot of sense. In the Montessori Infant Mobiles — Visual Series, you will see mobiles from the basic Munari black and white mobile to the very complex looking Dancer mobile. Each of which has their own developmental benefits.
![]()
Types of mobile
Below are the types of mobile we used and are currently using for our little girl.
1. Munari mobile (0 – 6 weeks)- This is the most basic of all the mobiles and is one of the easiest to DIY. We introduced this to Tala as soon as she came back from the hospital when she was 2 days old. It consists of black and white shapes spaced out on a wooden dowel or stick balanced by a spherical glass ball on one end.
2. Octahedron mobile (5 – 8 weeks) – This was the second mobile we introduced to Tala. Named after Plato, the Greek philosopher, it was designed to lay the foundations for understanding the world of geometry, pattern and shape.
3. Gobbi mobile (7 – 10 weeks) – At around this age, the baby can start to see subtle variations in colors. Introducing the Gobbi mobile at this age will help stimulate your baby’s visual senses and will help encourage them to focus on the different shades of colors.
4. Dancers mobile (10 weeks and up) – This mobile is made from stylized paper cutouts that move at the slightest breeze. They are arranged to simulate the figure of a dancing person. This mobile helps develop the baby’s depth perception and their ability to focus as the light bounces off the shiny moving figures.
![]()
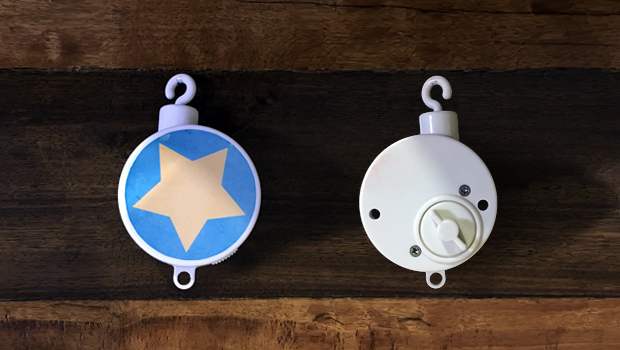
Most mobiles in general, specially these mobiles, are supposed to move slowly and naturally where you will hang it. But when we tried hanging ours, it either did not move when our room had no air or breeze such as when the windows are closed, or it moved wildly when the wind from the fan hit it. So in our case, we used a rotating musical mobile holder. We were lucky enough that a friend still had his baby’s musical mobile and gave it to me when he found out I was making my own DIY mobile.

![]()
Hanging your mobile
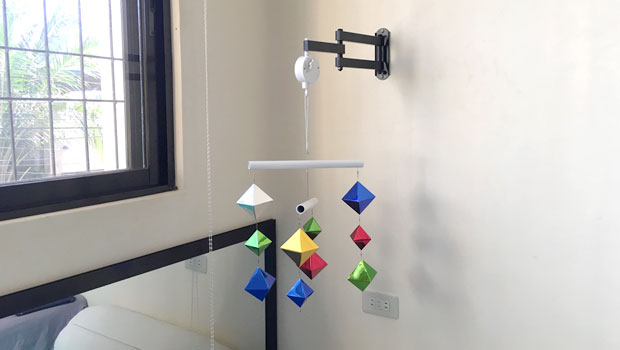
Now that you have your mobile, how exactly do you hang it? Most of the tutorials we saw online hung their mobiles from the ceiling, we weren’t very comfortable with this since our ceiling is made of soft panels, hanging a hook from there does not seem like a good idea. We also didn’t like that you can’t move it out of the way when you need the space for something else.
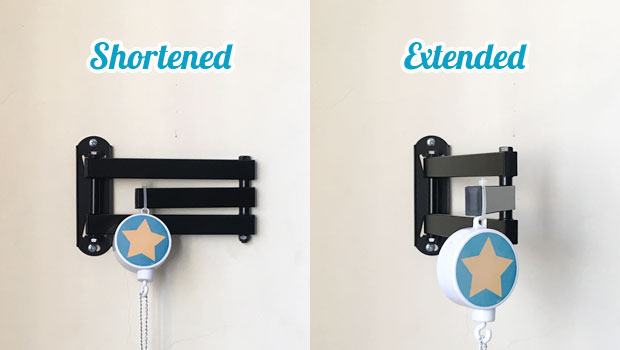
What worked for us was to hang the mobile on a TV wall mount, if you live in the Philippines, you can get one for around Php 500 ($5 USD) at CDR King, you know where that is. ![]() What’s nice about it is when you don’t need the mobile, you can just fold it to the wall and everything moves out of the way. When you need it, you can extend the mount up to 24 inches away from the wall so the mobile can hang directly above your baby. The mount is very sturdy as well.
What’s nice about it is when you don’t need the mobile, you can just fold it to the wall and everything moves out of the way. When you need it, you can extend the mount up to 24 inches away from the wall so the mobile can hang directly above your baby. The mount is very sturdy as well.


![]()
Our little girl is already at the stage when she is starting to move around a lot and is starting to grab at things that you put around her. Pretty soon we will be moving on to the tactile mobiles as she begins to become more and more curious of her surroundings. That would be even more exciting! Watch out for our post on that. ![]()
